“If you feel there is something missing in your life…it is almost always a biscuit.” – Author Unknown

It’s been a little while since I’ve posted a recipe on here! Rather unintentionally, I didn’t spend as much time baking the last few months as I normally would have. In the summer I tend to rely heavily on “no bake desserts” to avoid turning the oven on. Add to that multiple weekend getaways, holidays, family celebrations, work, studying…and it’s easy to see why I didn’t spend my days in the kitchen!

For my own sake (and those around me) I didn’t stay away from baking too long. Honestly, I don’t think I ever could. Those who know me all too well know that baking brings me such happiness. Aside from the delicious treats and recipes I prepare, baking brings me peace of mind. Whether I’m baking cookies, or biscuits, or both – when I’m in the kitchen I focus on the present moment and what’s right in front of me. Which brings me to this recipe: Cheddar-Chive Biscuits.

The ingredients are simple enough: flour, baking powder, salt, sugar, butter, cheddar, chives & buttermilk. Pretty standard as far as biscuits go. The cheddar/chive combination turns a traditional breakfast item into a savory, slightly salty side dish that pairs perfectly with a casserole dinner or a soup.
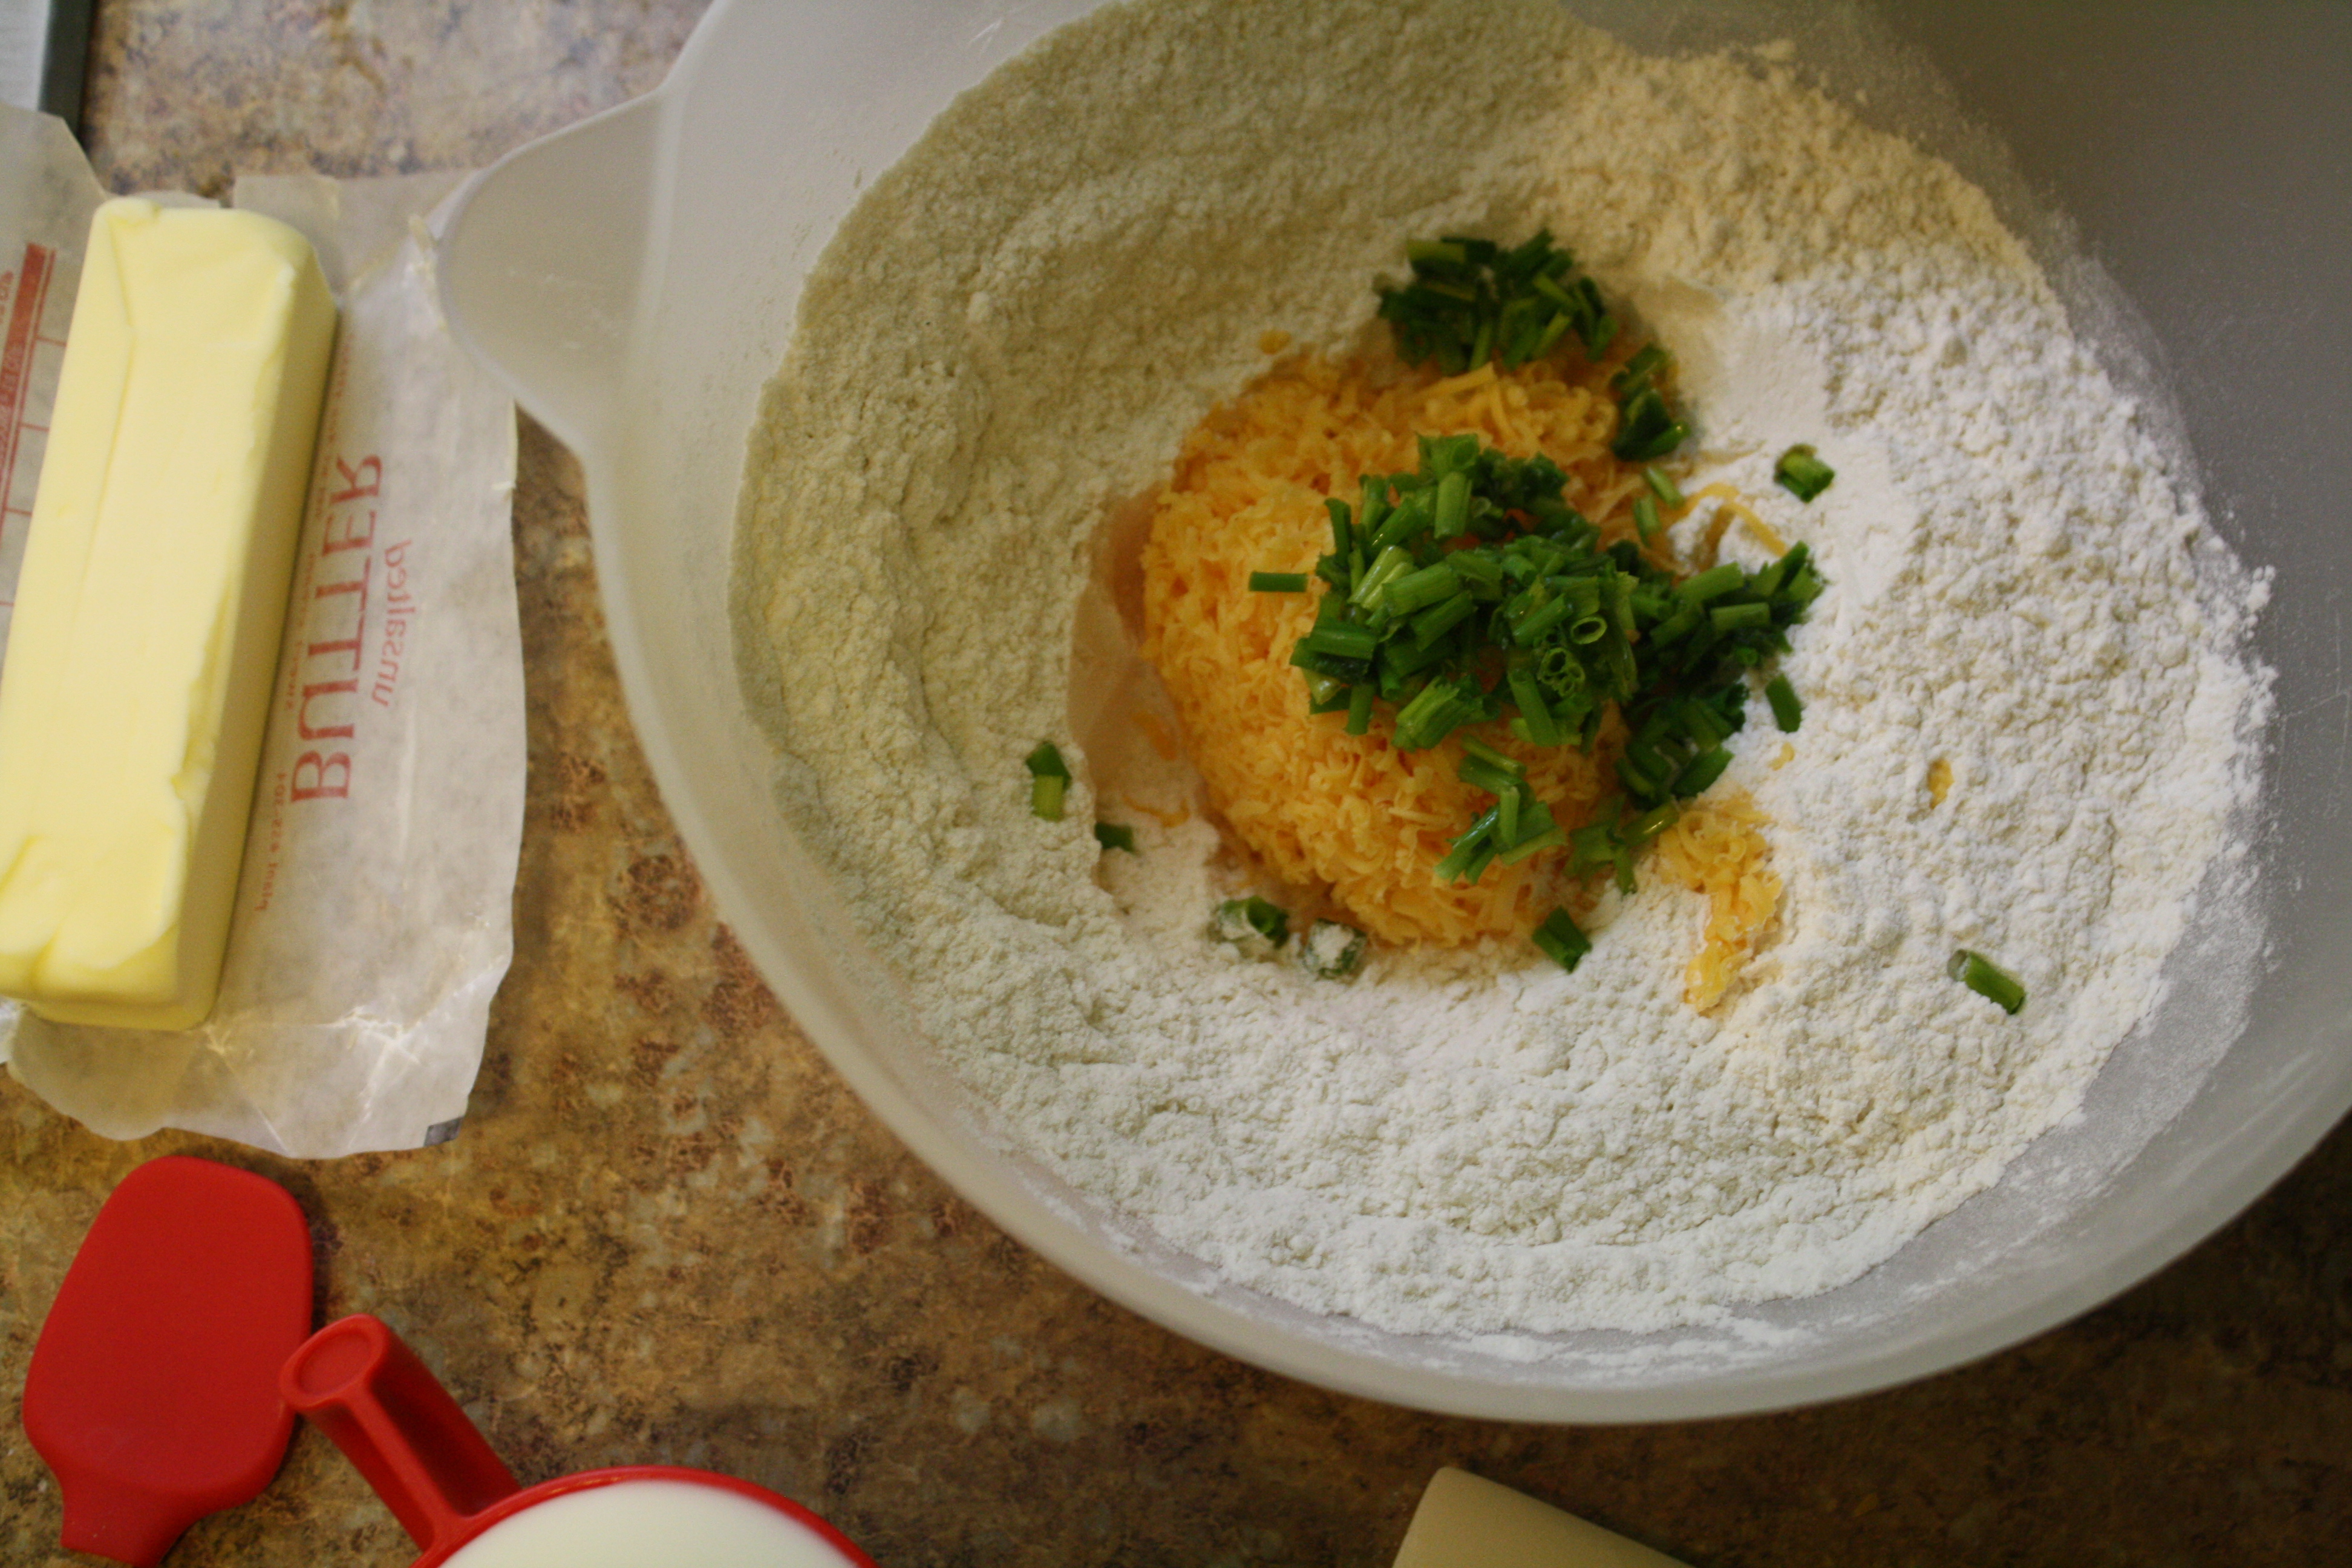
Start by whisking together the flour, baking powder, and salt, then stir in the cheddar cheese and chives until combined.
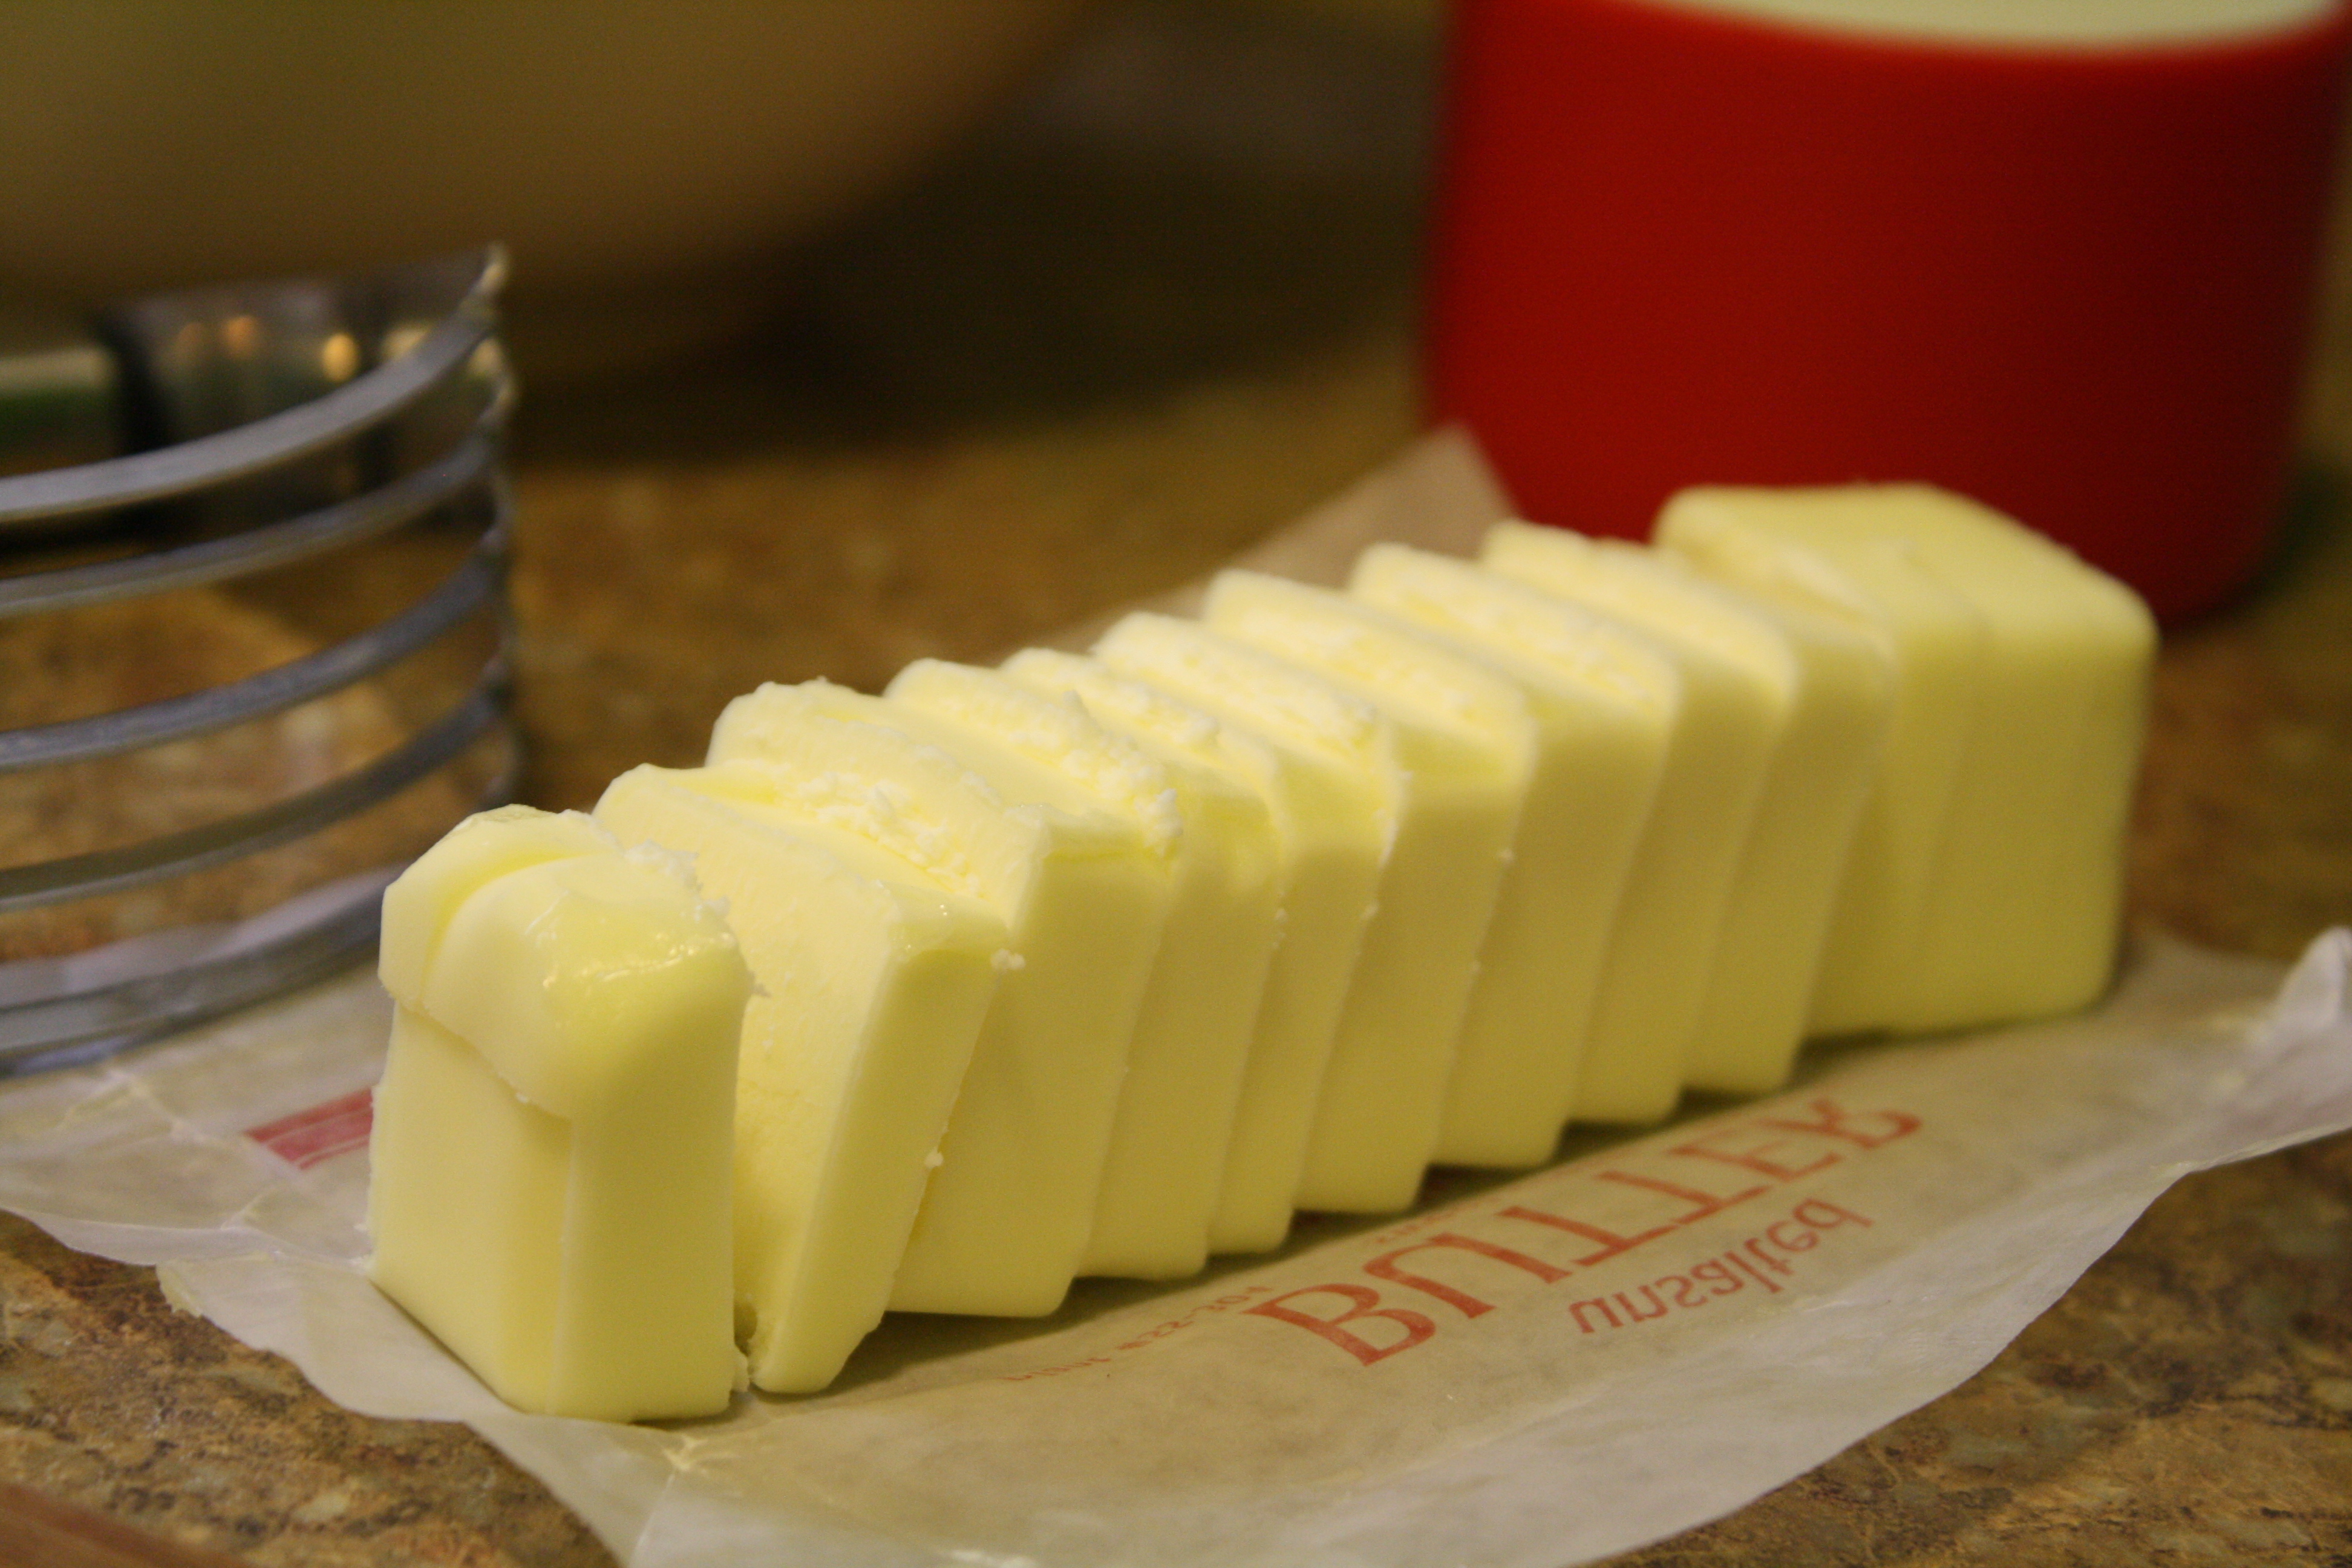
Next, slice the butter into slices or quarters. Using a pastry blender or two knives, cut in the butter until the mixture is crumbly. Cutting in the butter is an easy technique and it’s purpose is to ensure that the small pieces of butter are evenly distributed throughout the mixture so that when the dough bakes, the butter melts and creates flaky layers.
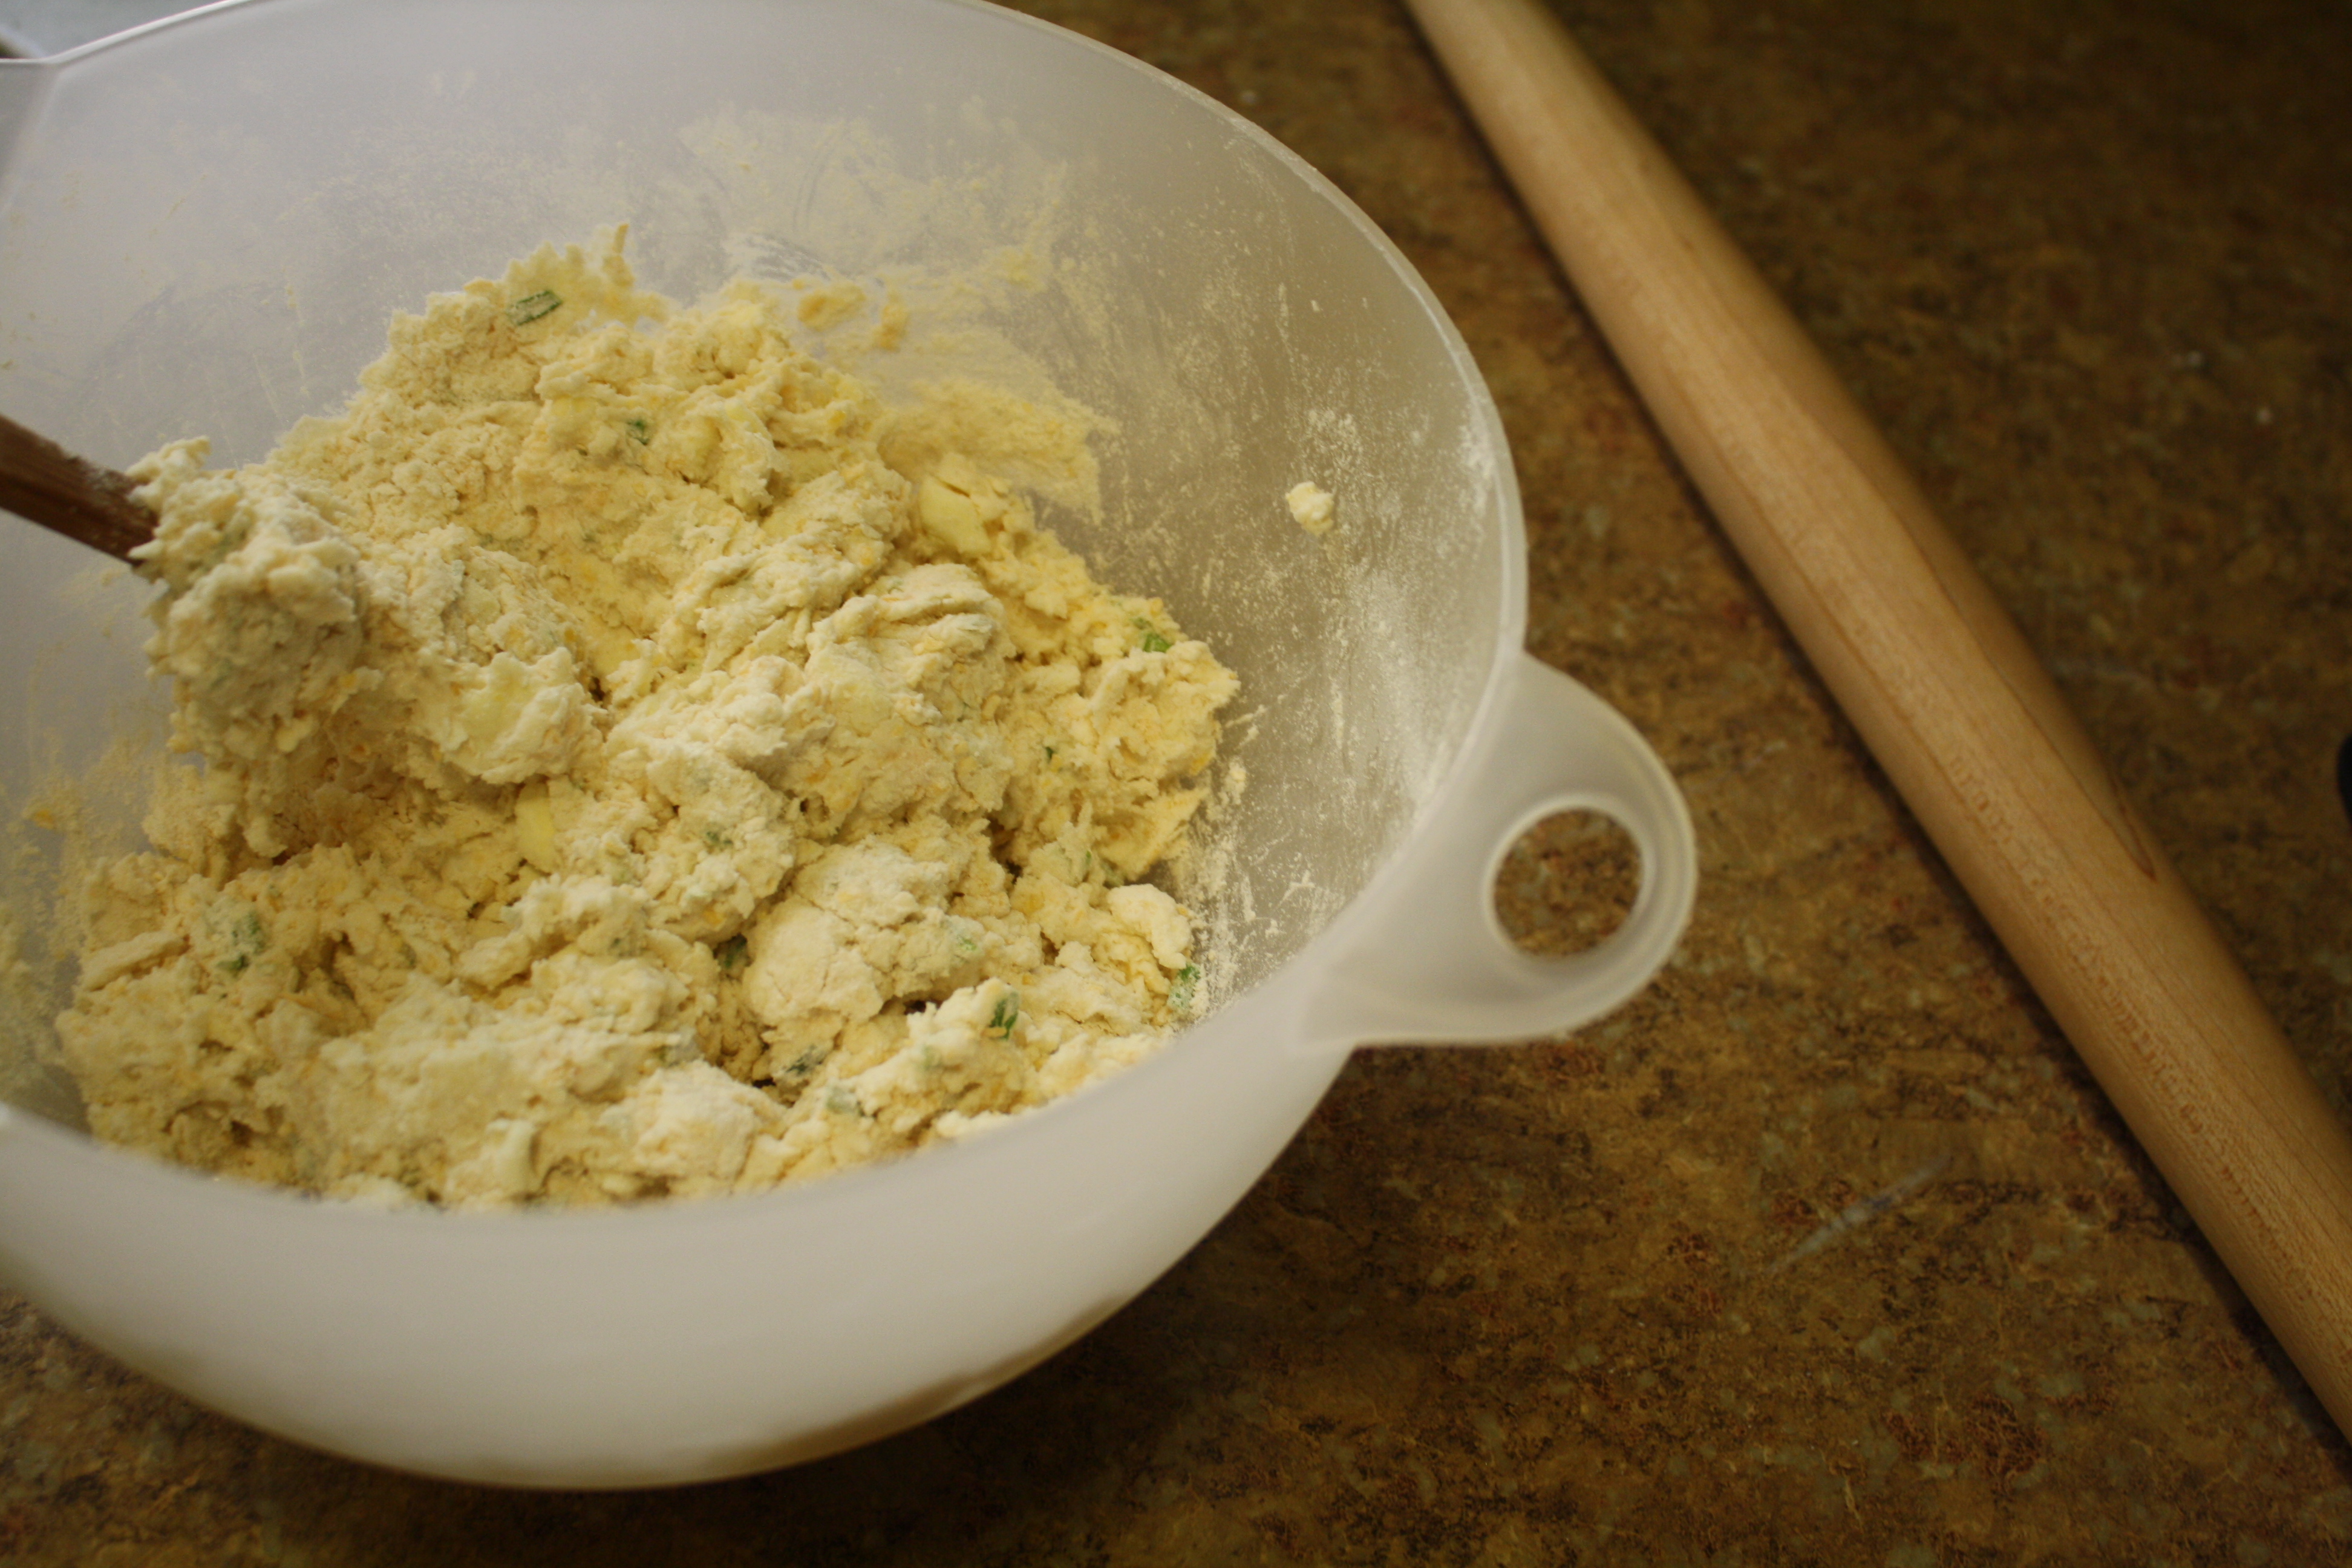
Once the butter is cut in and the mixture is crumbly, pour in the buttermilk and stir to make a soft dough.
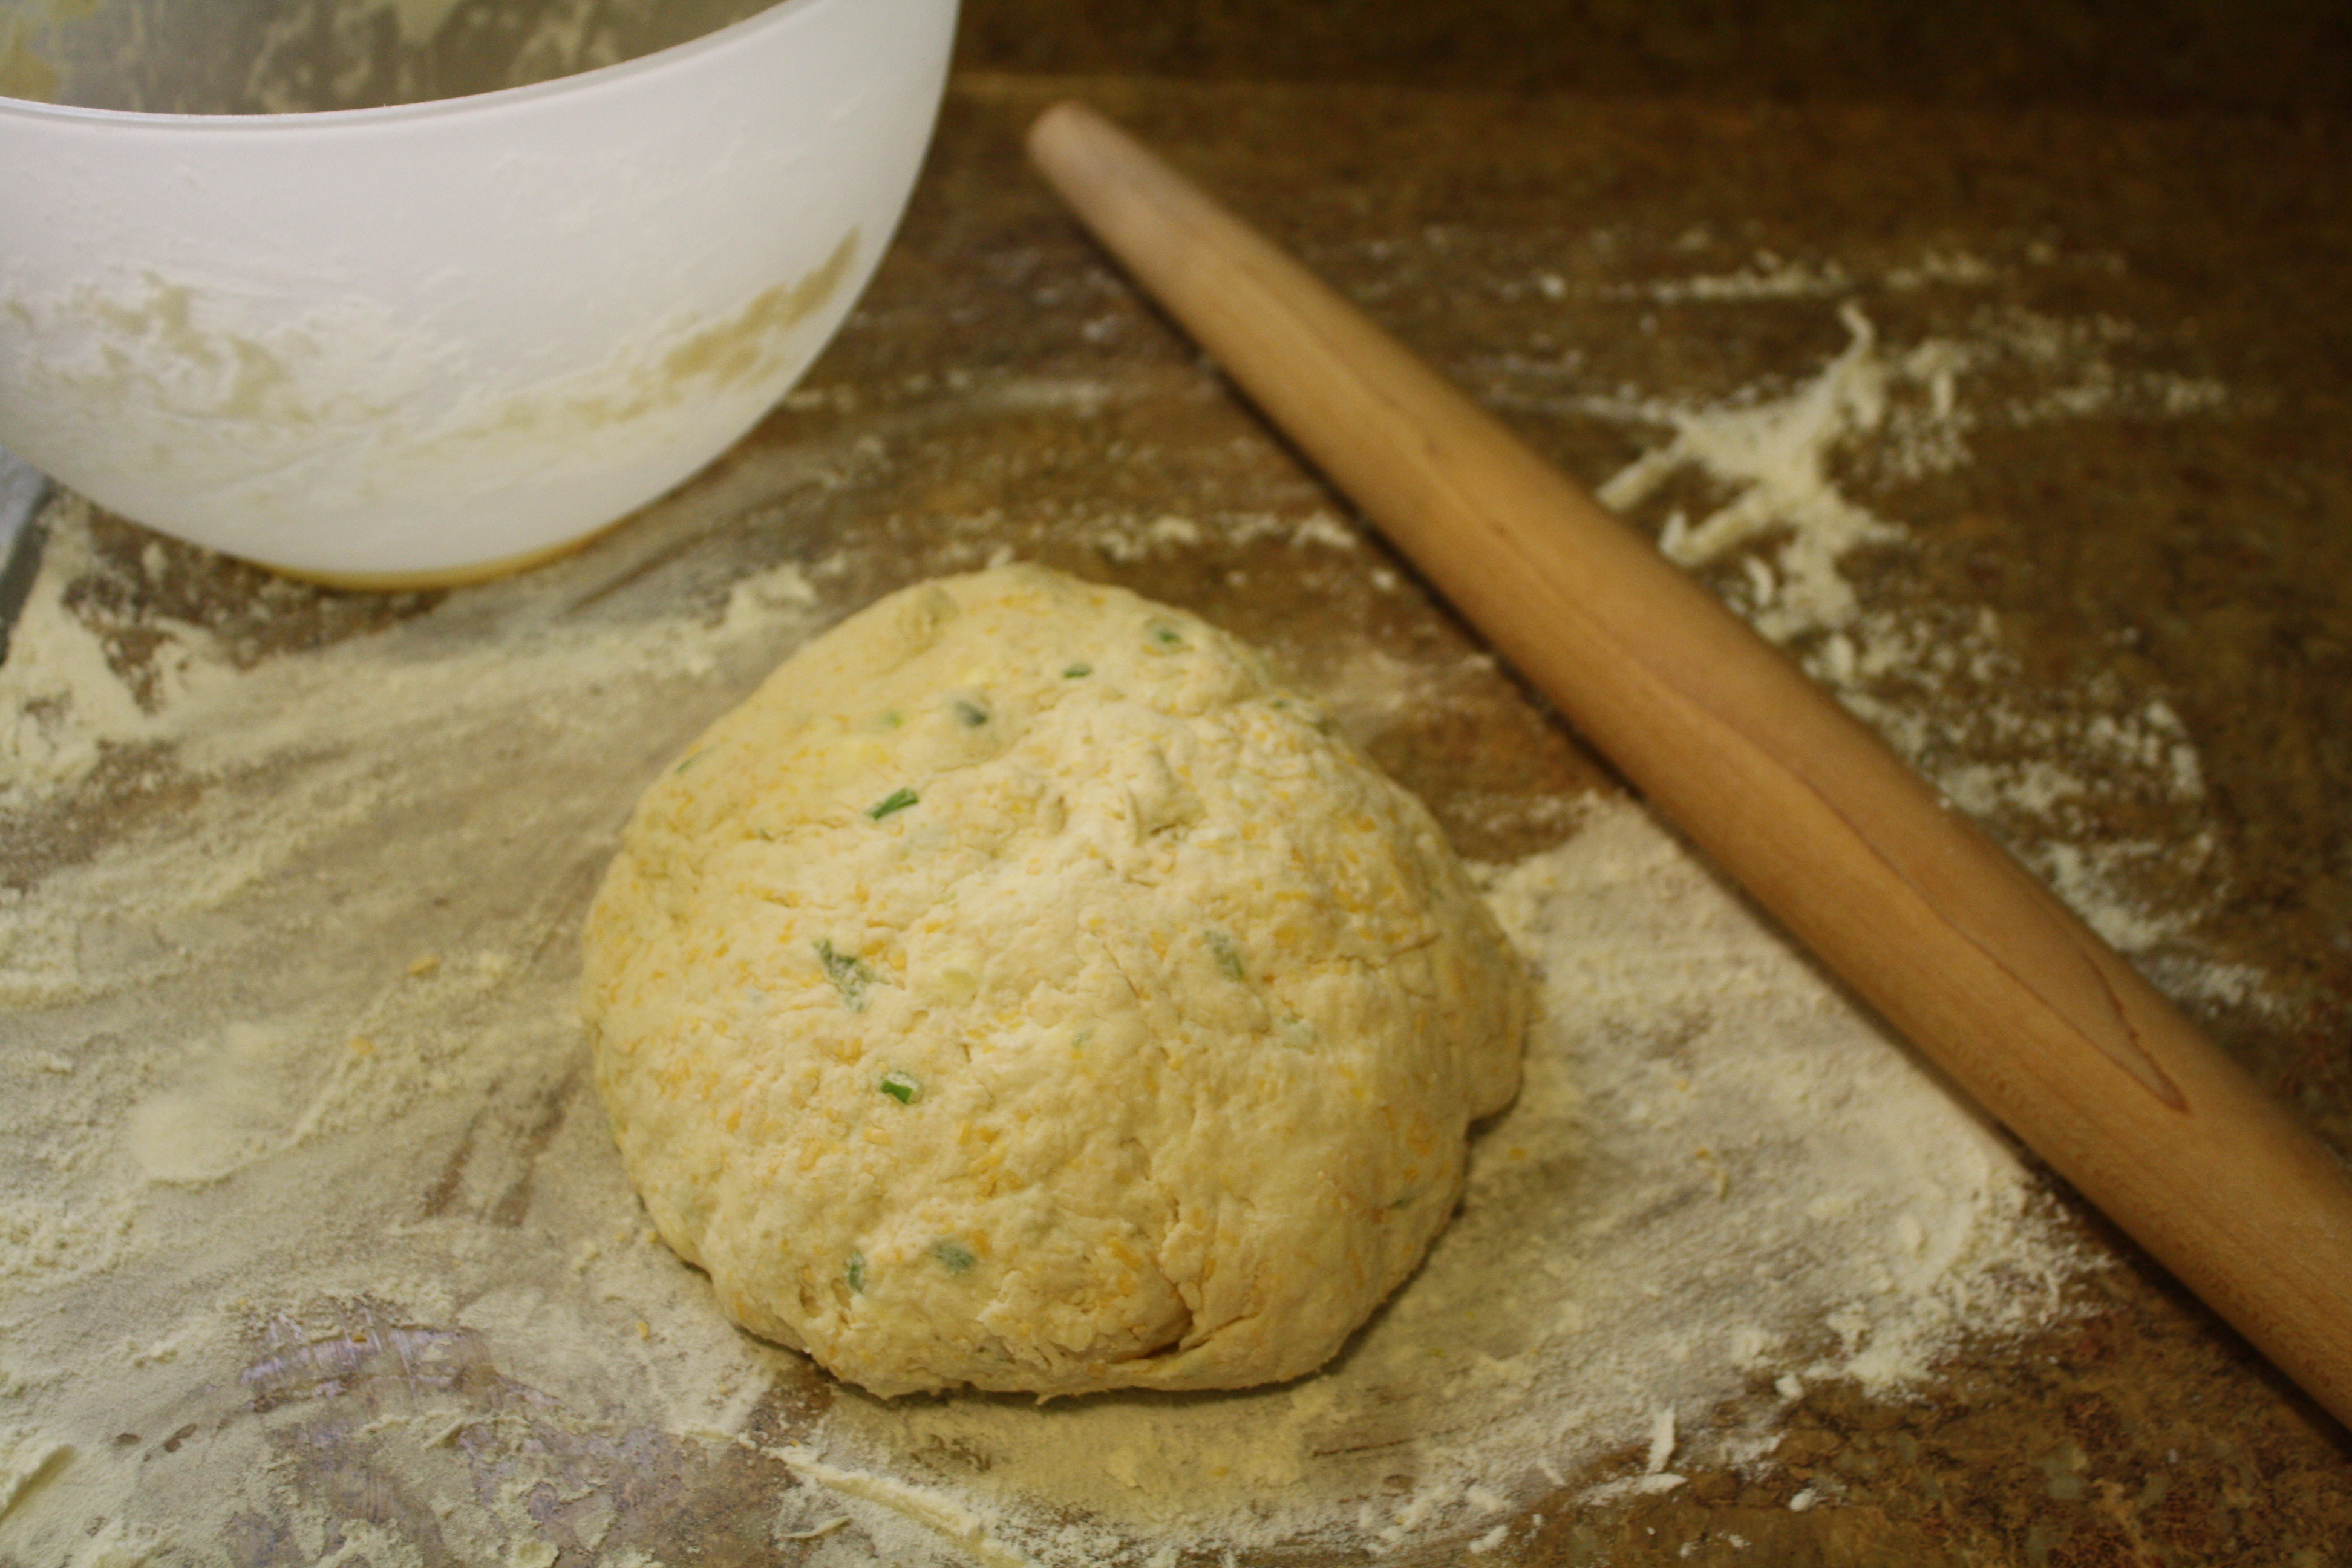
On a lightly floured surface, knead dough approximately 10 times, roll into a ball and then using a rolling pin, roll to desired thickness.
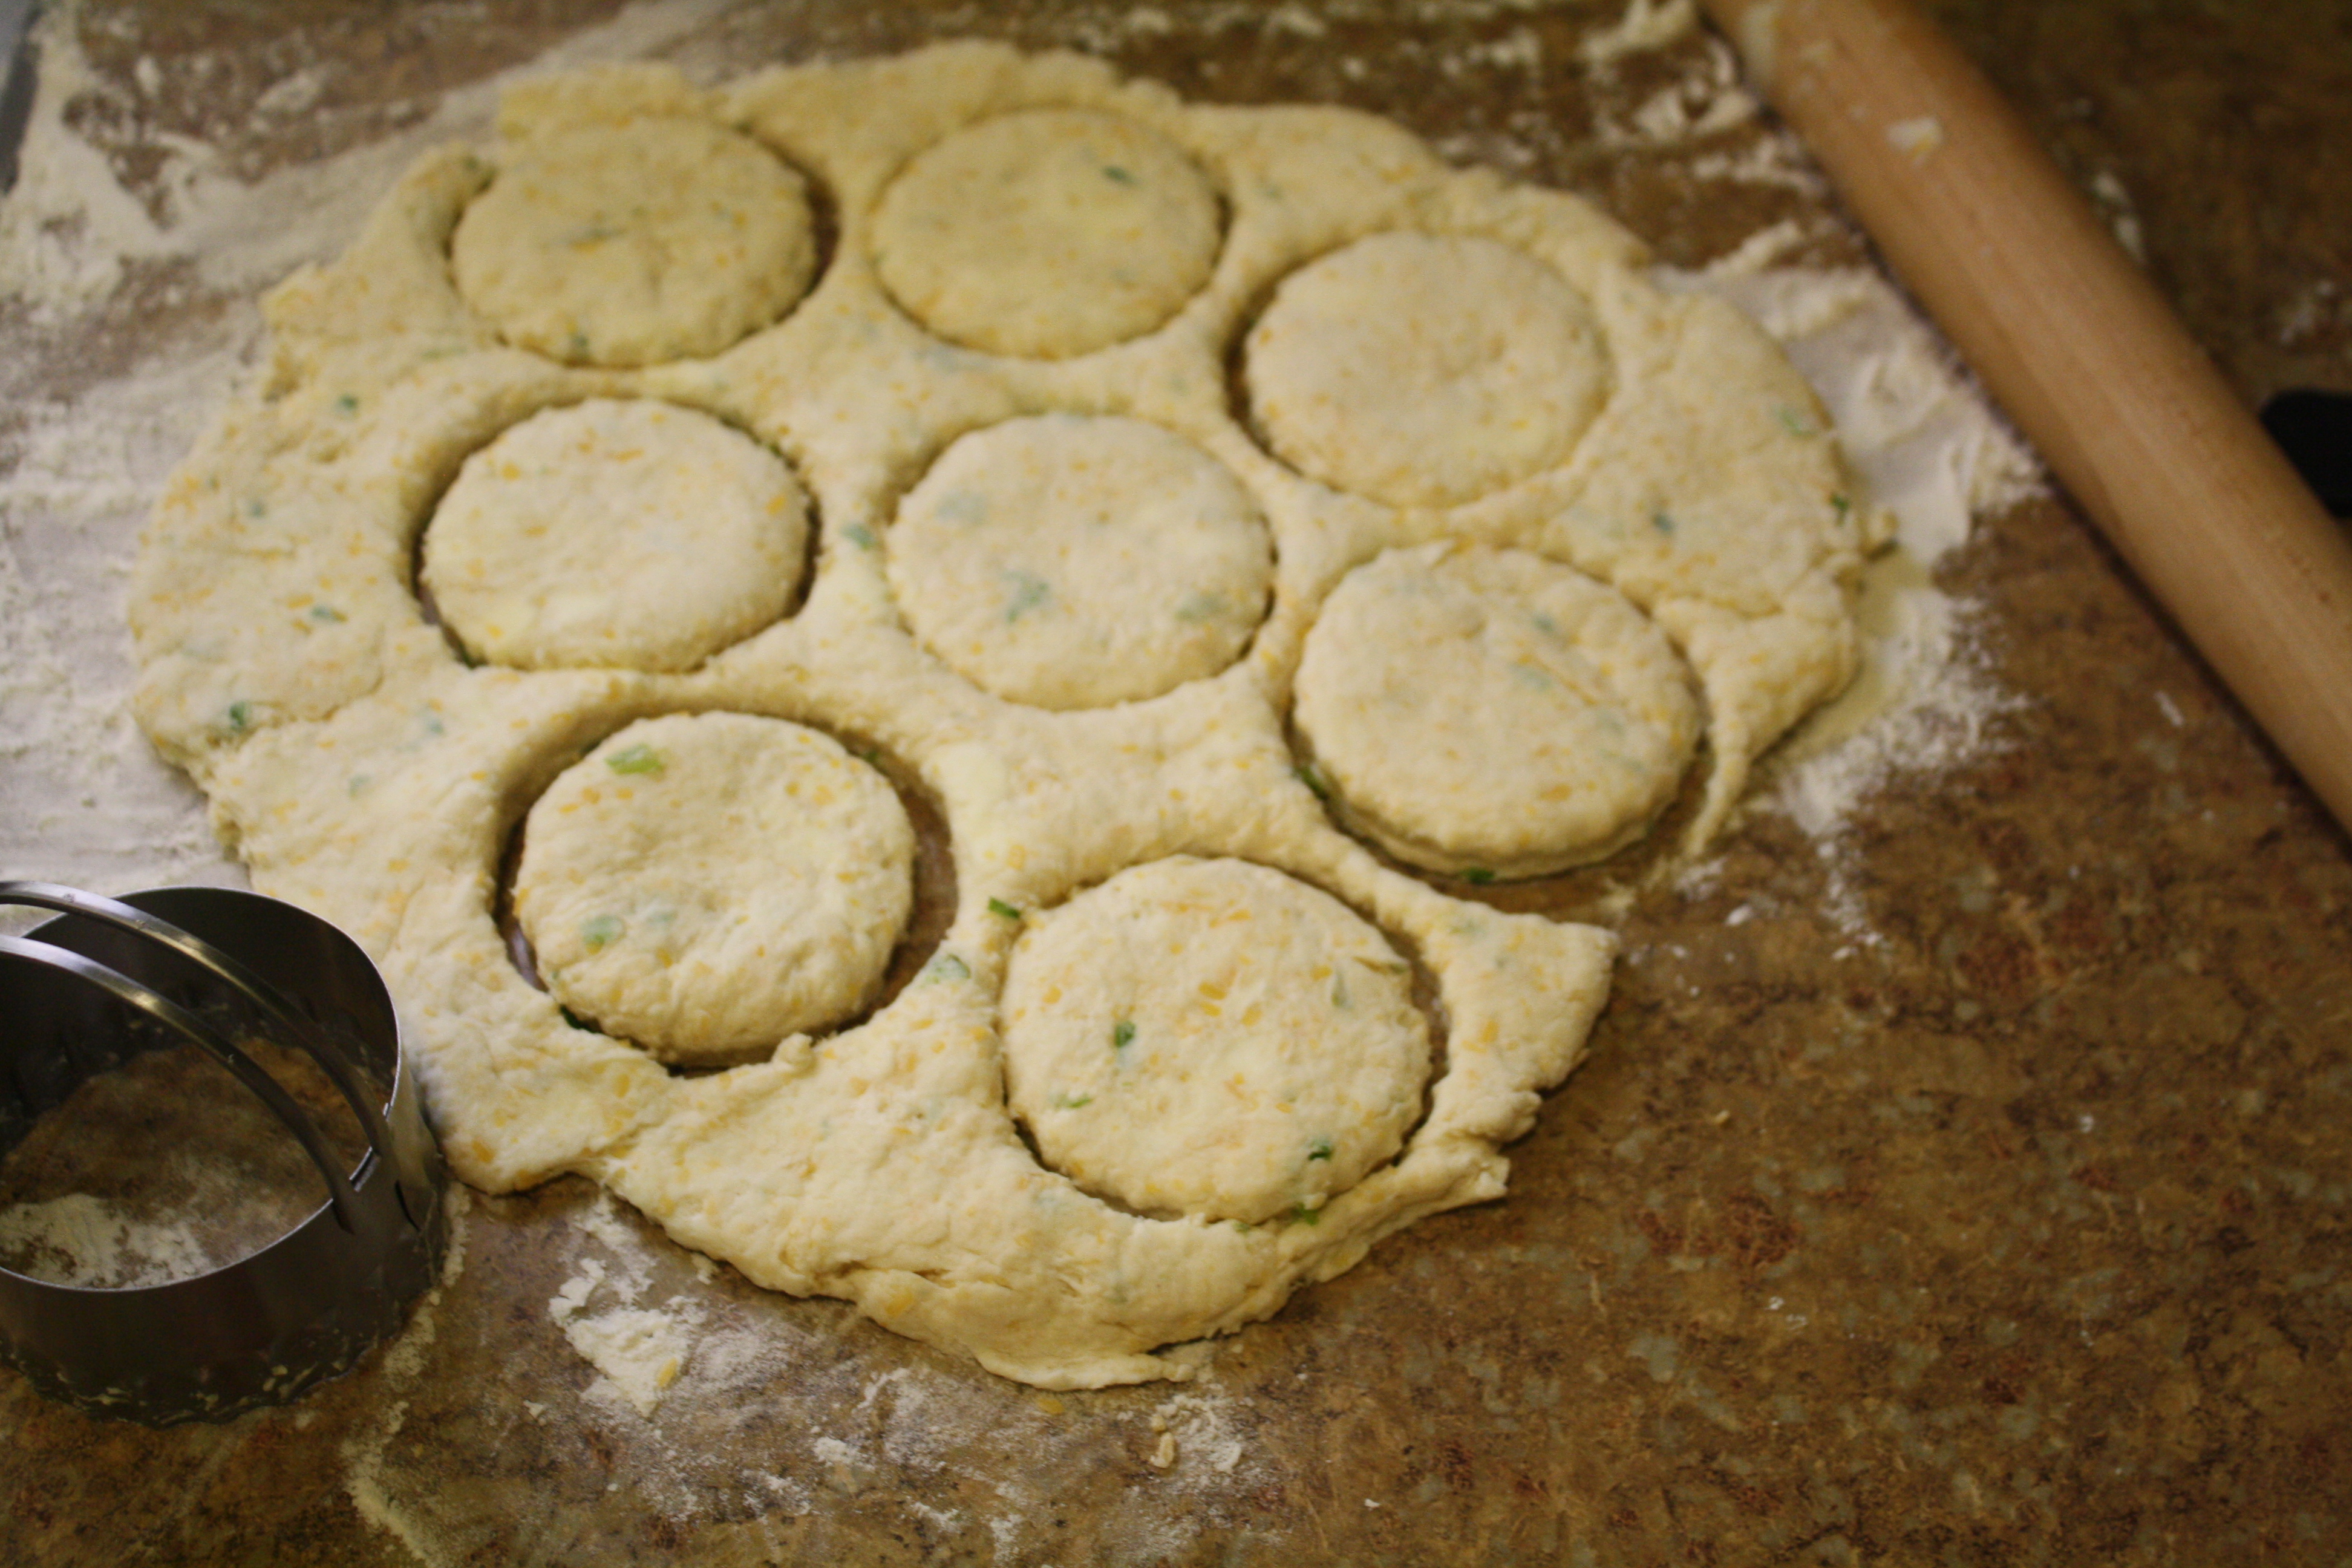
Using a biscuit cutter, cut the dough into desired number of rounds, re-rolling and cutting the dough as necessary. When using a biscuit cutter be careful not to twist the cutter to release the dough as this creates lopsided biscuits! They will still taste delicious, but really, who wants lopsided biscuits?
As further proof that sometimes the greatest things can be found in the unlikeliest of places, I found this recipe while browsing through Canadian Living Magazine while I was at the dentist’s office a few years ago. Little did I know it would be added to the “favorites” section in my recipe book and would become a frequently requested item to bring to family gatherings!
- Yield: 12-16 biscuits
Cheddar Chive Biscuits
Adapted from, Canadian Living Magazine
Ingredients
- All-Purpose Flour - 2 & 1/4 cups
- Baking Powder - 2 & 1/2 teaspoons
- Granulated Sugar - 2 teaspoons
- Salt - 1/2 teaspoon
- Unsalted Butter, chilled - 1/2 cup, cubed
- Sharp Cheddar Cheese - 1 cup, shredded
- Chives - 3 tablespoons, chopped
- Low-fat Buttermilk - 1 cup
Instructions
- In a large bowl, whisk together the flour, baking powder, sugar, baking soda and salt. Using a pastry blender or two knives, cut in butter until the mixture resembles coarse crumbs.
- With a fork, stir in the shredded cheese and chives.
- Stir in the buttermilk and mix to form a soft dough.
- On a lightly floured surface, gently knead dough 10 times. Pat dough into a 3/4 inch round and use biscuits cutters to cut 12-16 rounds (depending on what size cutter you us will determine how many biscuits you can make.) I usually make 16 medium-sized biscuits. Using a 2 & 1/2 inch biscuit cutter will yield approximately 12 large biscuits.
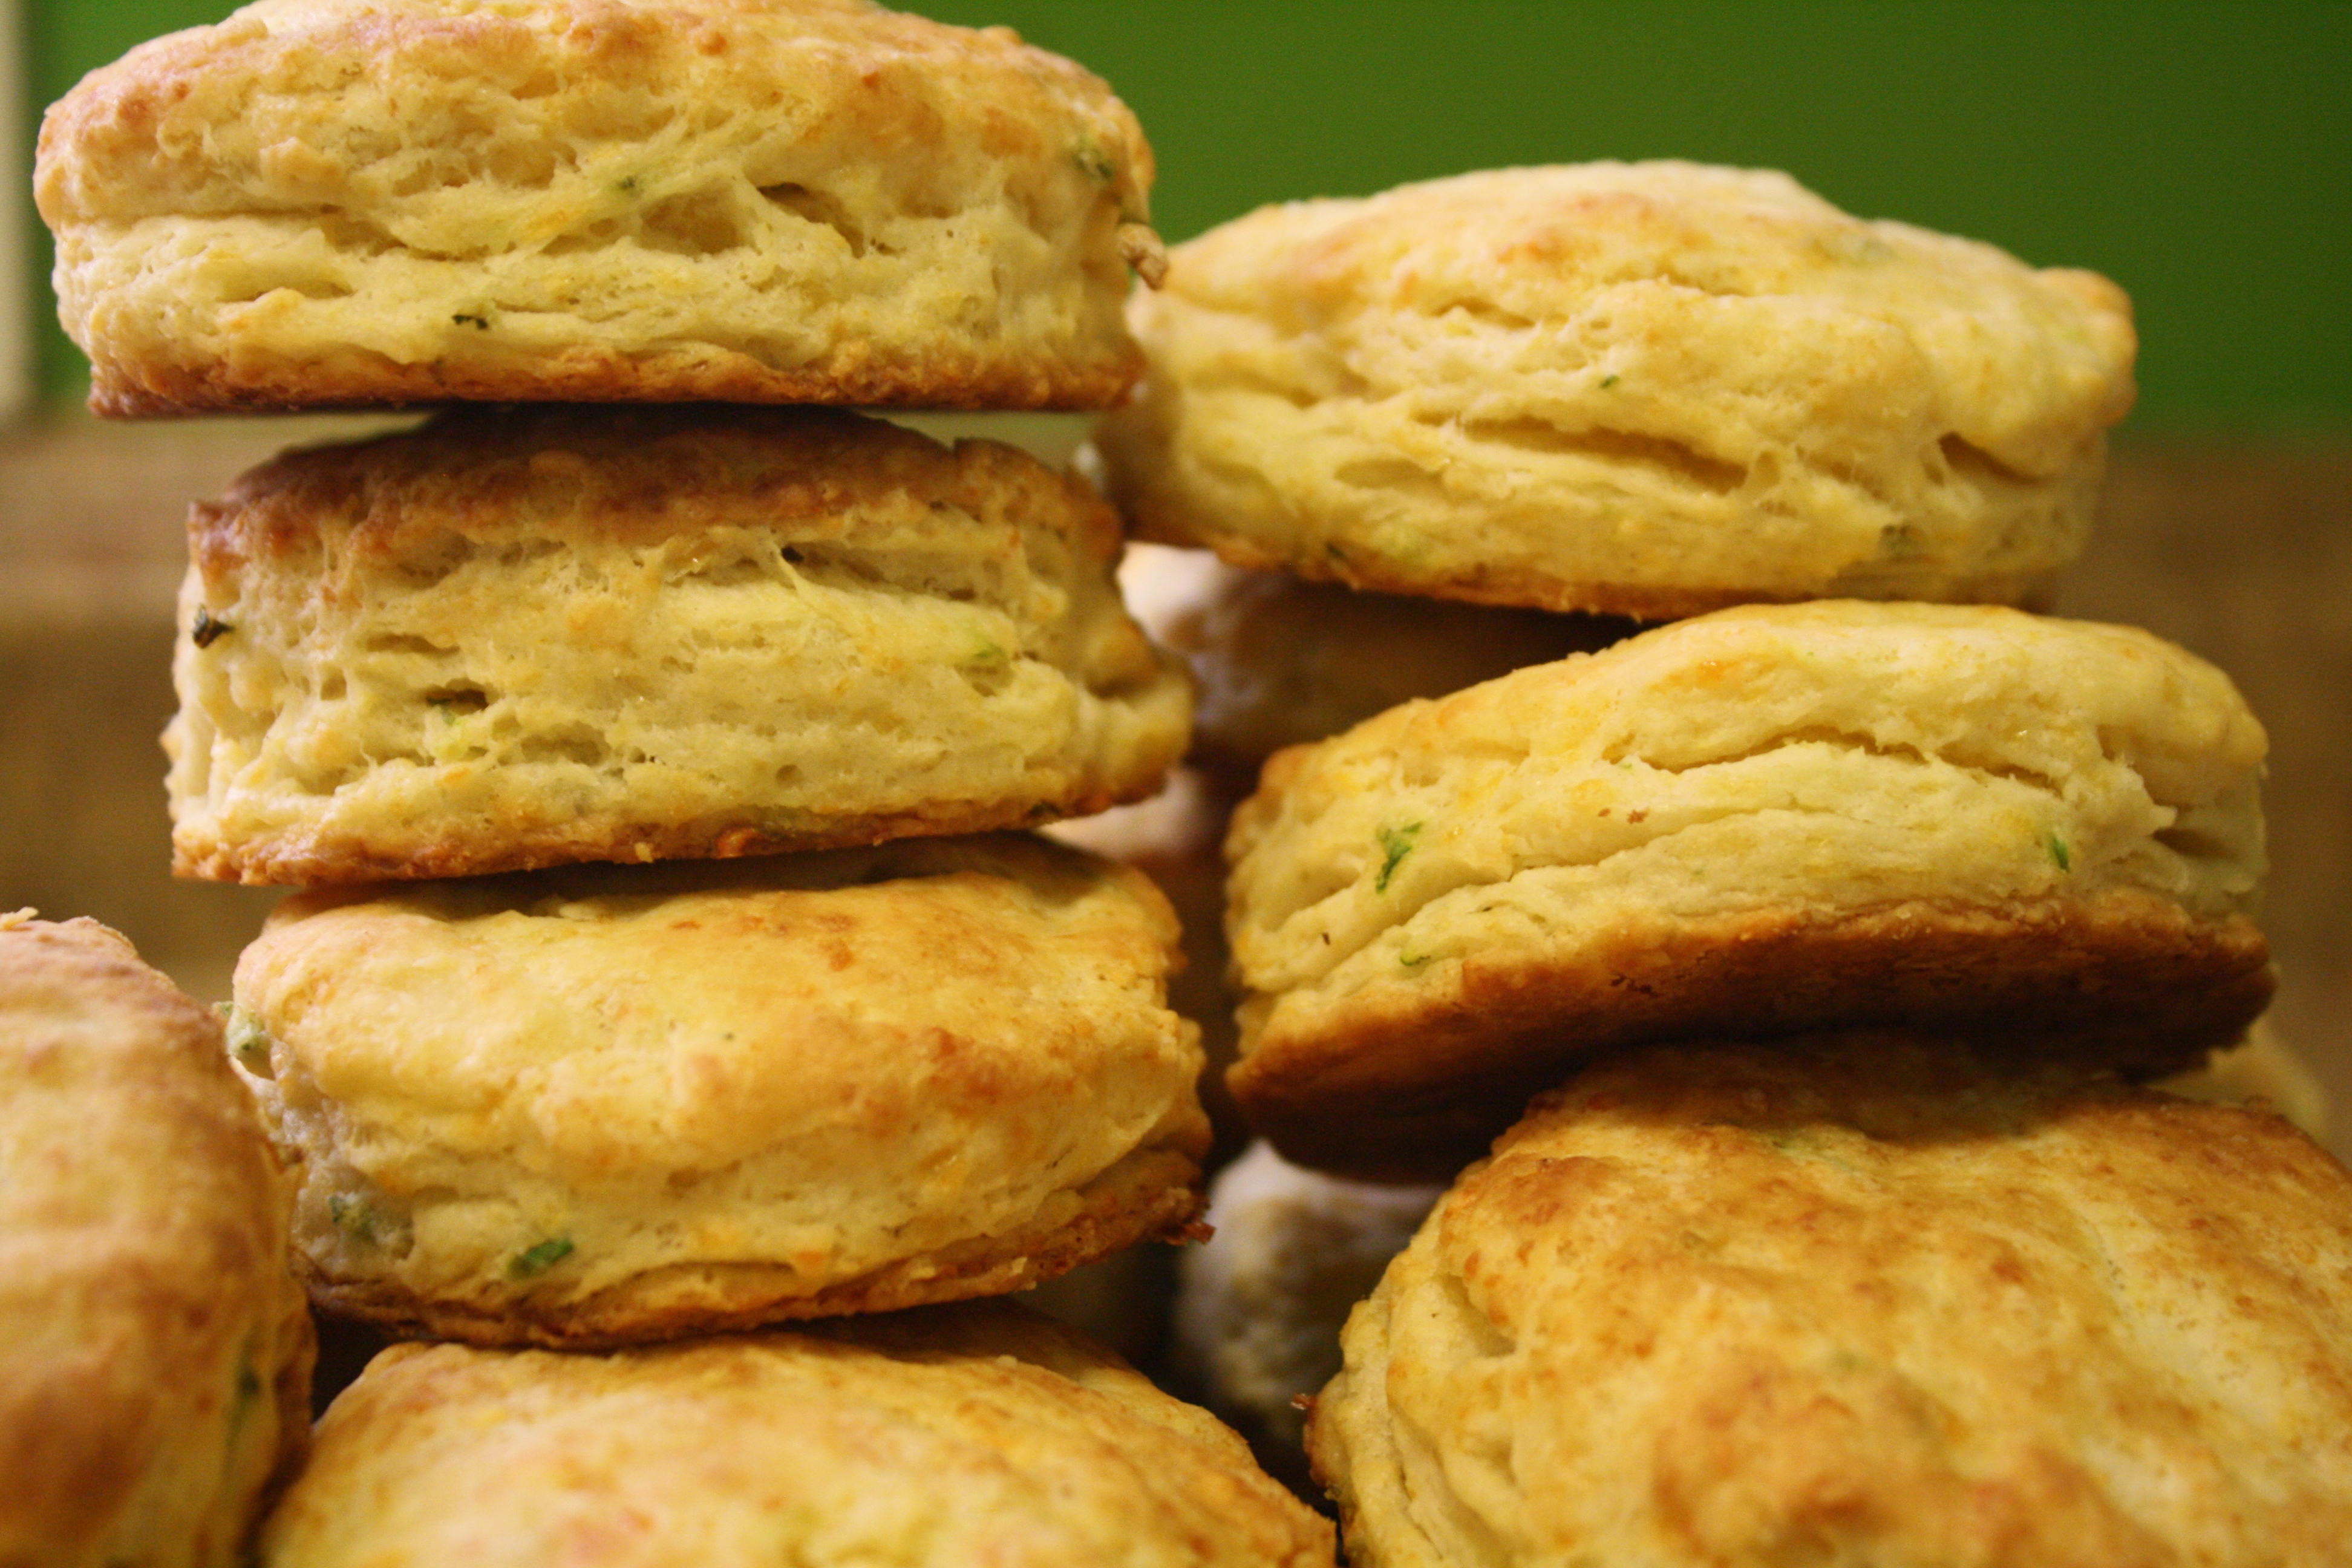
- Bake biscuits in preheated oven for 12 to 14 minutes or until golden. Serve warm with butter. Save leftovers in an airtight container for up to 24 hours.
NUTRITION FACTS for 16 medium sized biscuits (from myfitnesspal): CALORIES 150, FAT 8.1g (SAT. 5.2g, POLY 0.3g, MONO 1.5g), PROTEIN, 5.4g, CARBOHYDRATES 13.9g, SODIUM 267.2mg, FIBER 0.6g, CHOLESTEROL 25.3mg.